


SHFiguarts & SHMonsterArts Special Effects Diorama Workshop 2nd "Orb Origin, Fly in the Sea of Clouds!" 1/2
Workshop for taking cool, cool diorama photographs of special effects taste, Part 2!
This time, "S.H.Figuarts ULTRAMAN ORB ORB ORIGIN" will fly over the sea of clouds!
With techniques that are only special effects, teach me to make dioramas,
Toshio Miike, a special art designer at the Tokusatsu Institute!
He is a great veteran who has worked on numerous special effects movies such as the Heisei Gamera trilogy and the Millennium Godzilla Series.
Through the frame of the camera, "special effects pictures" will be completed!
* When using cutlery, tools, paint, adhesive etc, please read each instruction manual and use it correctly, so please be careful not to get injured or accident etc.
※ We do not accept inquiries about the tools and materials used in the article.
* When processing such as painting products, please go at your own risk.
ホリゾントを作ろう!

One of the points of this time is to make 'Horizont'!
"Horizont" is the "background" used in shooting special effects etc.
In the special effects shooting, the real wall which is just seen as genuine is drawn on the wall of the studio.
In diorama shooting, of course, you can substitute photo enlargement,
This time, let's actually draw clouds like shooting site of special effects!
背景ボードを作ろう!
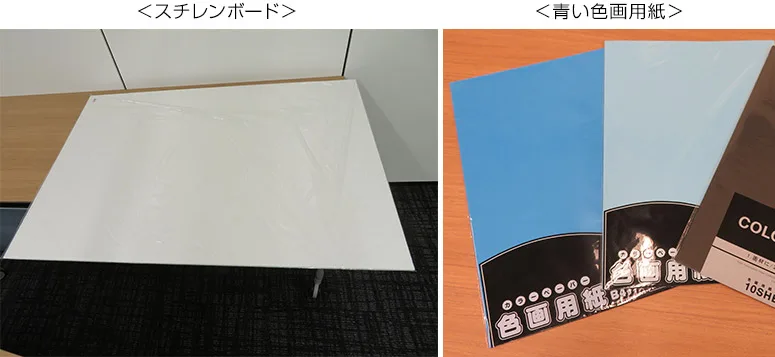
First, prepare blue skies to draw clouds!
This time, I will make it with styrene board and blue color construction paper.
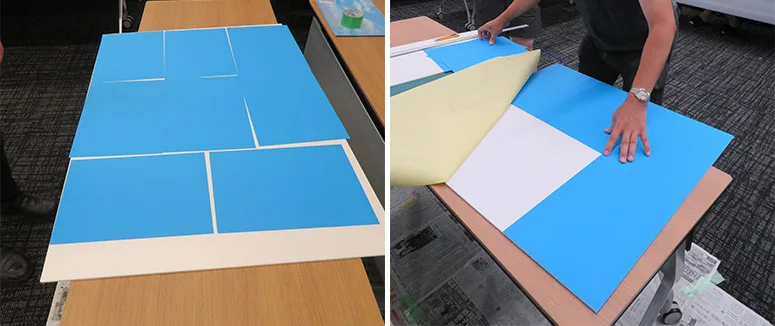
When styrene board is peeled off, we prepare the type which becomes adhesive surface, and spread color drawing paper without gaps.
Even if you use spray glue, using a styrene board without adhesive surface!
It is surprisingly difficult to lay it all over, so let's work carefully. Please put the Atari of the arrangement like the left image, please paste one by one.
If the papers overlap each other, the streak will come out.
Of course, it is best to stick a piece of seamless paper!
In that case, let's be careful not to wrinkle.
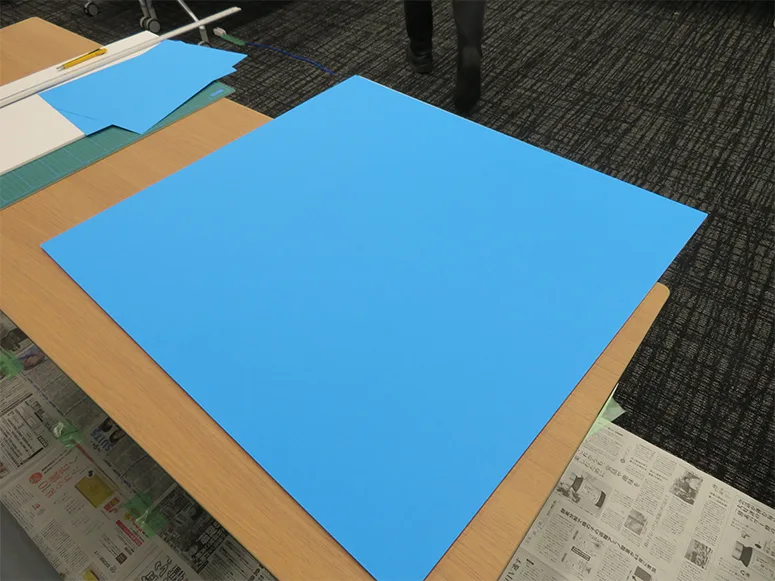
This completes the blue sky canvas.
Here, I will draw clouds!
雲のレイアウトを決めよう!
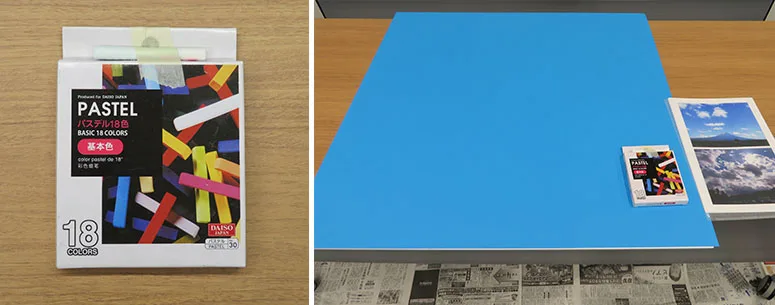
This time, the material used to draw clouds is pastel! (The photo's are purchased at 100 yen shop)
Clouds drawn in the studio are expressed by spraying paint with an airbrush,
Let's recreate the effect that is closer to it with familiar painting materials this time.
Even if chalk is used only if it is white OK!
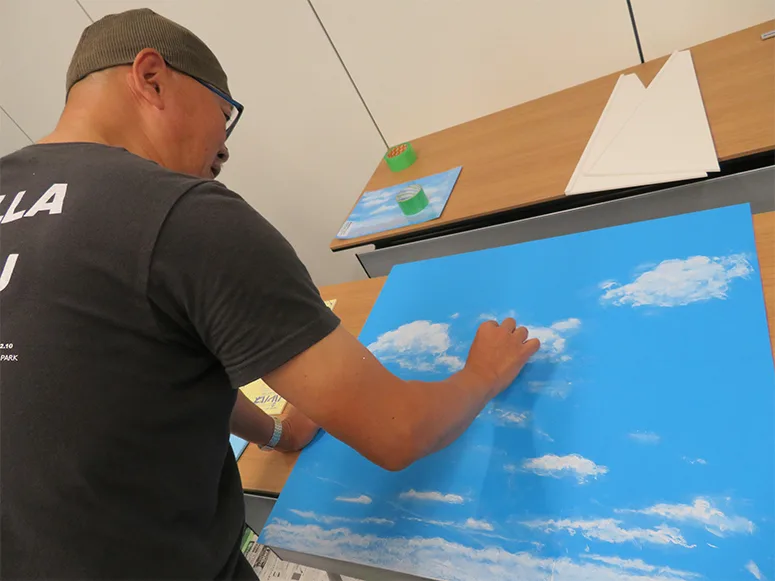
First of all, we will draw a cloud layout on a canvas with a white pastel.
I will draw contours with reference to real cloud photos etc.
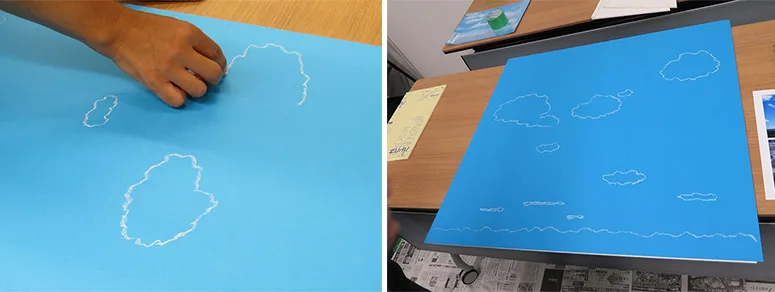
Do not put too much power as it draws underneath, let 's paint it as softer.
About five centimeters from the bottom is hidden by placing a cloud of clouds in the foreground,
I lay it on the premise.
To the horizon, above the big clouds you looked up,
By arranging elongated clouds on the far side next to you,
A perspective can be expressed!
In addition, although it will be explained later, there are cases where "Sun" is added to this Horizont with electricity.
Assuming that, it is good to imagine the position of the sun from the beginning.
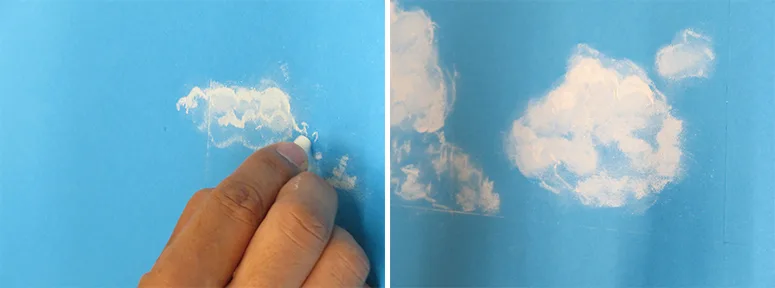
雲を塗っていこう!
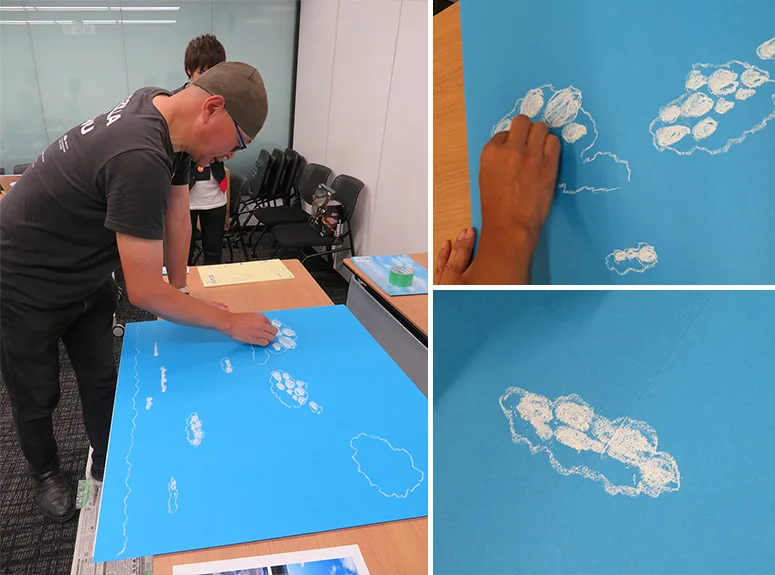
Next, I will paint in the clouds with the outlines in white pastel.
Rather than paint uniformly,
Try to draw small circles in the outline!
This makes it possible to express the swelling of clouds.
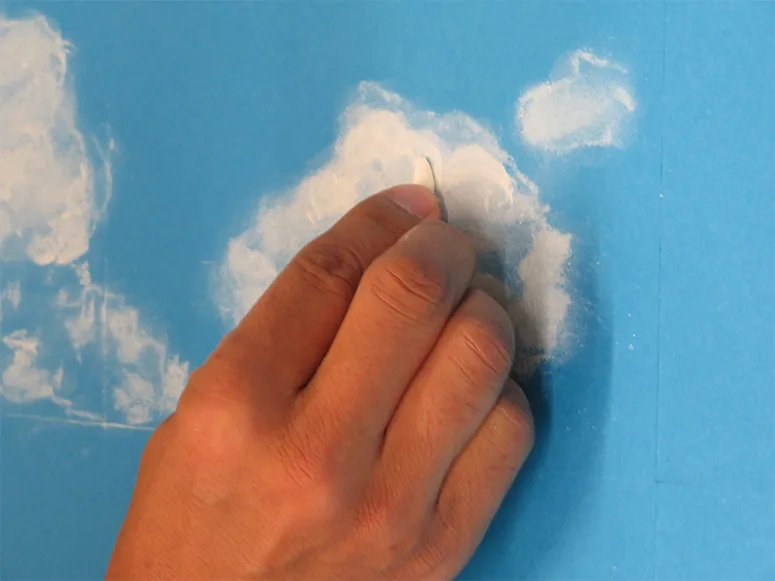
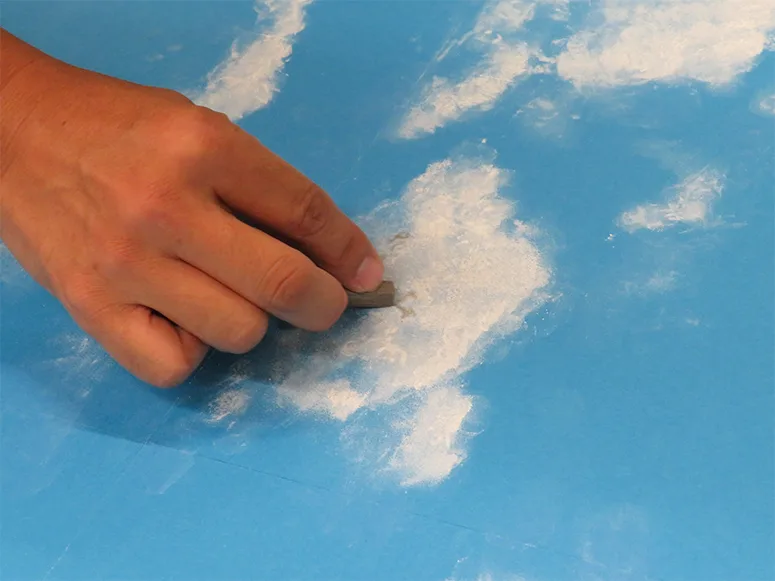
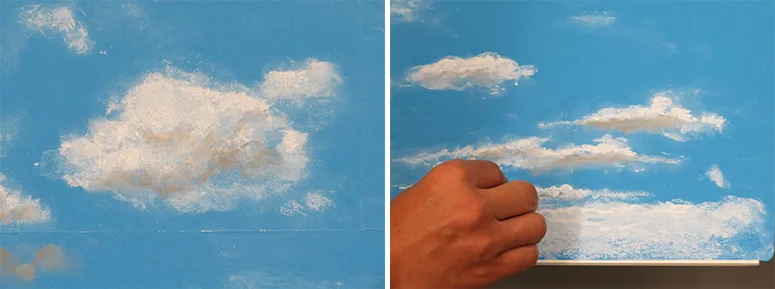
パステルをボカそう!
Next, I will scratch it with rubbing with the finger with the past filled with pastel.
This makes it possible to express the softness of the clouds!
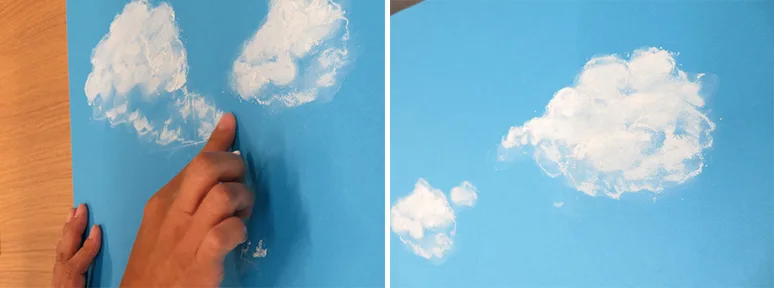
This is a nice thing about pastel,
You can get the effect like blowing with an airbrush.
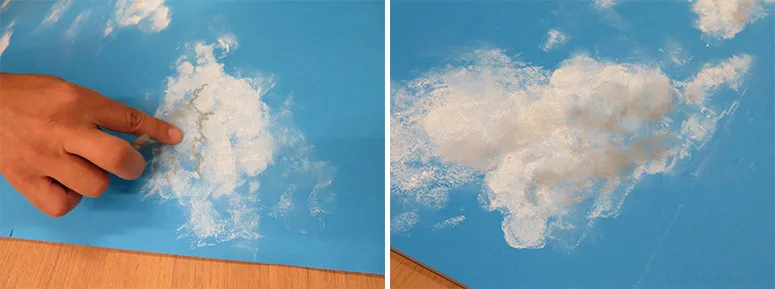
However, if you do with the joints of paper,
Avoid clogging pastel powder in the gap and becoming a streak.
If it gets clogged, wipe gently with a wet tissue.
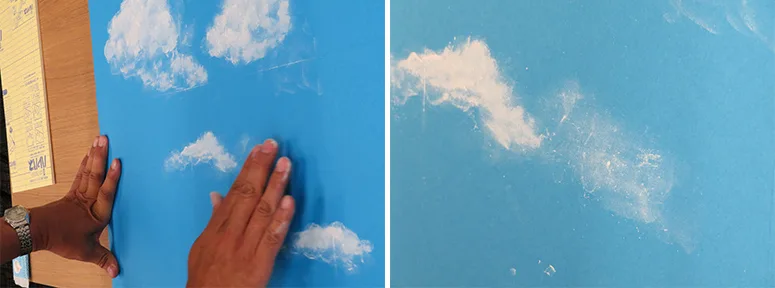
You can draw pastel powder in your hands and draw thin clouds scattered around.
遠くの雲を塗ろう!
I will paint distant clouds that follow the horizon, placed in the lower part of the Horizont.
Let's lay pastel and paint this.
And then rub it with your finger in the same way as before and let it fit.
Now, the basic shape of the cloud is made!
ハイライトと細かいタッチを入れていこう!
From here, we will add a three-dimensional feeling to the clouds we have drawn so far.
Using a pointed point of white pastel,
I intensely place highlights at the places where the sun's rays are hit.
As the light of the sun pours from above, let's put a touch around the upper edge.
On the contrary, the lower side rubs with fingers and goes blur.
Pastel is not like a pencil, it is effective to use it like rubbing side by side.
In addition, we will add fine clouds around them with accent.
This also works well with a sharp point of pastel.
Looking from afar, it looks like scattered clouds and it looks real!
A three-dimensional feeling has come out considerably!
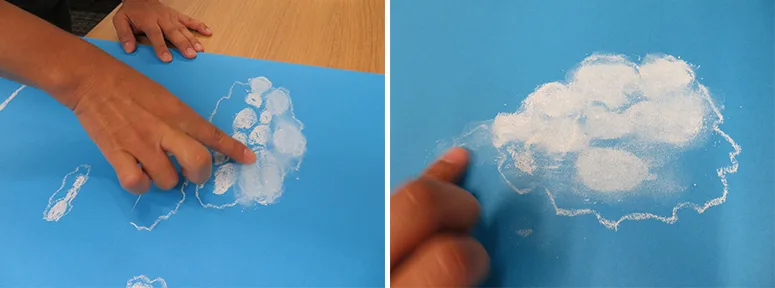
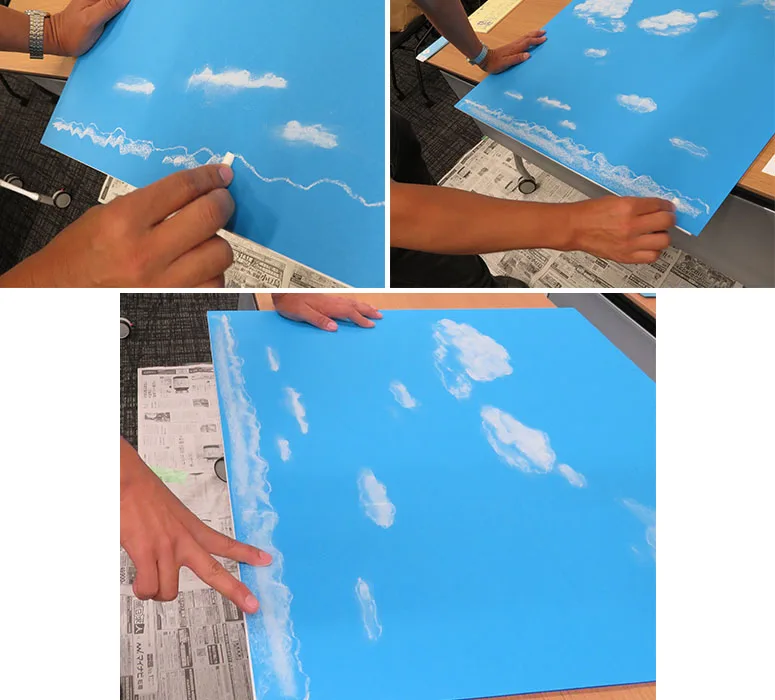
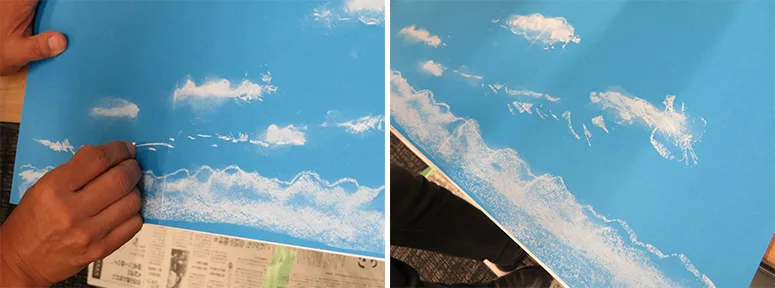
パステルを拭き取ろう!

Next, prepare wet tissue.
How, I will wipe pastel clouds that I drew so far.
However, the part to be wiped off is partial!
By lightly pressing and tapping the part with a wet tissue
Pastels of that part will be wiped away.
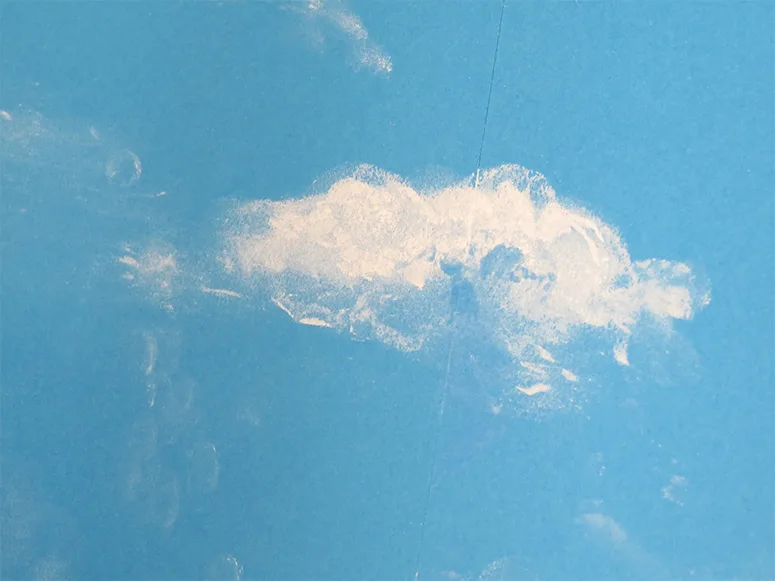
Then, wonder!
The clouds in that part seem to be transparent!
More delicate clouds have been expressed.
By the way, when drawing clouds in the studio,
This process is expressed by spraying the same blue paint as the background.
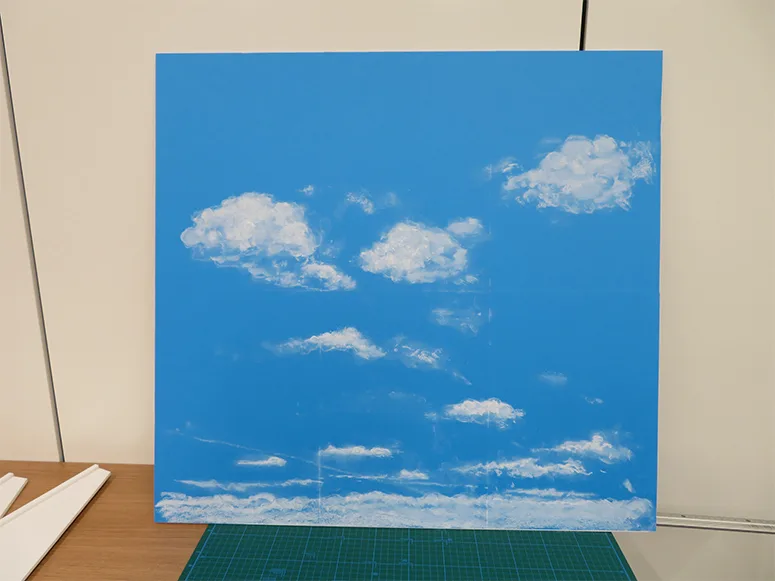
影を入れていこう!
Next, I will put a shadow in the clouds.
Here, choose a gray pastel!
I will draw a shadow under the clouds behind the sun.
Finally rub it with your finger and get familiar with white pastel,
Make it a gradation.
Three-dimensional feeling will be greatly increased!
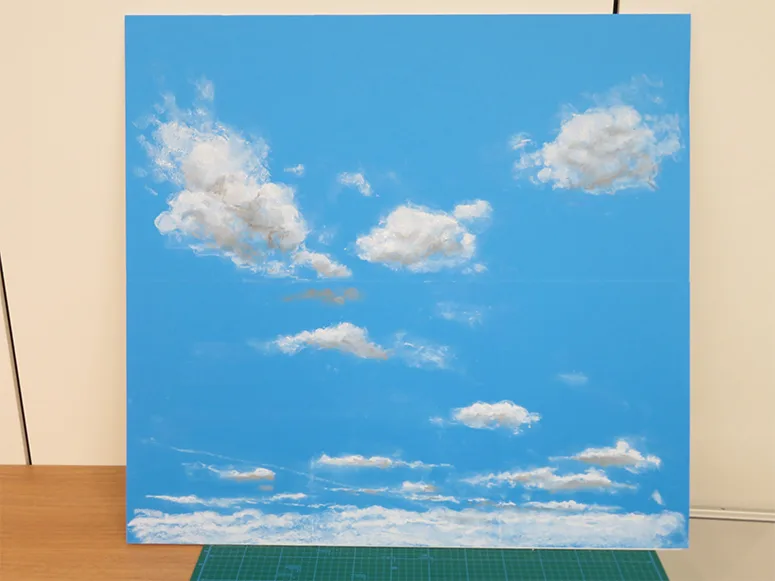
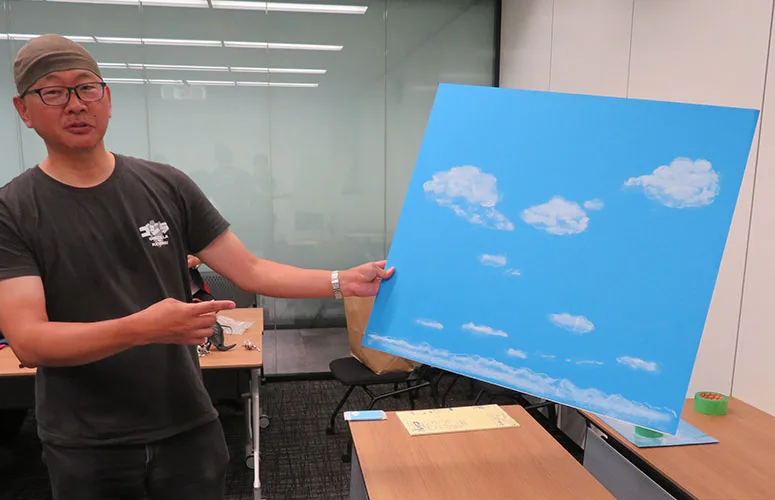
Well, the cloudshorizont is completed!
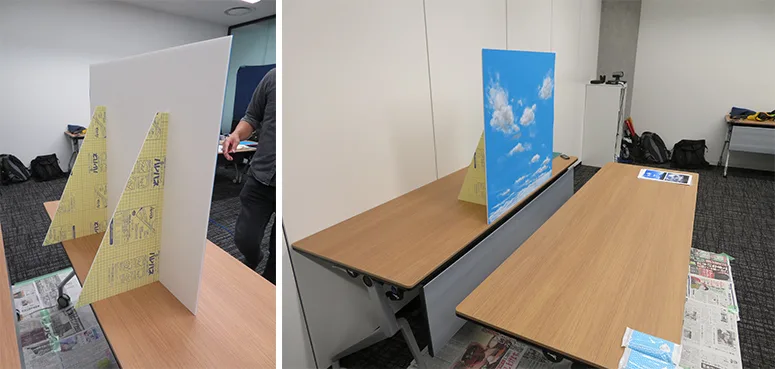
Let's put support on the back and let's stand.
Here we attach a paper double sided tape to the cross section of the styrene board.
With this, the background is ready!
Mr. Miike is a quick work of about 30 minutes so far, but let's practice with your time carefully at the first challenge.